If you want a soft, polished look you can recreate on busy mornings, an everyday natural makeup routine is a smart place to start. This guide shows how to build a routine that looks like you, just a little more awake, using approachable steps, realistic time frames, and products you likely already own.
Think of this as a blueprint you can adjust to your face, schedule, and climate. You’ll learn how to prep your skin quickly, choose sheer base products, place concealer only where you need it, define brows and lashes in minutes, add a touch of color, and keep everything looking fresh. You’ll also find checklists, time-saving frameworks, and small adjustments for different skin types and seasons. Want more beauty how‑tos? Visit our hub at groominghealthplan.com for related reads.
everyday natural makeup routine: Everyday natural makeup routine: the essentials
Natural makeup isn’t about hiding features. It’s about balancing tone, adding soft definition, and letting your skin’s texture show through. The essentials below act like a menu: pick what you need, skip what you don’t, and build confidence as you go.
- Prep: gentle cleanse, light moisturizer, daytime SPF, optional blurring primer on high-shine zones.
- Base: skin tint, tinted moisturizer, or sheer foundation applied sparingly.
- Conceal: brighten under eyes and cover spots with targeted placement.
- Brows: groom, fill sparse areas lightly, set with clear or tinted gel.
- Lashes: curl and sweep on a defining mascara from root to tip.
- Color: a touch of cream blush, maybe a whisper of bronzer, and a subtle highlight.
- Lips: a shade close to your natural tone in a hydrating formula.
- Set and refresh: a light dusting of powder where needed or a fine mist spray to soften edges.
Keep this sequence on a sticky note by your mirror. Over time, you’ll memorize it, cut steps on rushed mornings, and add steps for special days.
Prep that respects your time
Great base days start before makeup. You want a quick, friendly prep that helps makeup sit smoothly and feel comfortable without a long routine. A coin-size amount of gentle cleanser is plenty in the morning. If your skin feels clean, splash with water instead. Pat dry with a soft towel. Follow with a lightweight moisturizer that suits your skin type and a broad-spectrum SPF your skin likes to wear every day. If shine gathers on your forehead or around the nose, tap a pea-size dot of a soft-focus primer only on those areas; leave the rest of your face bare so skin can look like skin.
Texture matters more than a label. Gel-cream moisturizers tend to sit well under makeup in warm weather; richer creams work better when air is dry. If your skin looks dull, mix one drop of facial oil into your moisturizer rather than layering heavy products. For lips, a thin layer of balm at the start lets color glide on later. Give everything a minute to settle before you reach for your base product. That pause reduces pilling and helps pigments lay more evenly.
One last tip for prep: keep a microfiber cloth or a stack of soft tissues nearby. If you realize you over-applied moisturizer, press (don’t rub) to lift off the excess. That simple move can help makeup hug the skin instead of sliding around.
Choosing the right base: tints, tints, and more tints
For daily wear, lightweight coverage products are your best friend. Skin tints, tinted moisturizers, serum foundations, and sheer-to-light coverage foundations even out tone without creating a flat mask. If you like brush application, pick a small duo-fiber brush; if you prefer fingers, warm a pea-size dab between fingertips and press it into the center of the face where unevenness is most visible, then spread outward. A damp sponge is also helpful to remove excess and mesh pigment with moisturizer.
When you shop or shop your stash, think in terms of undertone first (golden, neutral, olive, cool) and depth second (fair, light, medium, tan, deep, rich). If you’re between shades, choose the slightly lighter option for sheer formulas because they tend to be forgiving, and you can add warmth with bronzer. Apply base only where you need it: around the nose, on redness, and across the center of the face. Let your cheeks, freckles, and healthy texture show; that contrast is what keeps the look “natural.”
If pores or fine lines bother you visually, avoid thick layers. Instead, use a sponge to gently press a thin veil of product over those zones. You’ll get a more even look without losing dimension. A tiny bit of translucent powder can blur the look further—one tap of a small brush is enough for each spot.
Concealer placement that looks like real skin
Concealer is where restraint pays off. The goal is to lift shadows and mute spots without covering the entire face. For under eyes, dot a thin, creamy formula at the inner corner where shadows pool naturally, plus a small dot just below the outer corner if it looks a little tired. Let the product warm for five seconds, then tap with your ring finger or a tiny brush. Keep the center of your under-eye bare if possible; this prevents a heavy look.
For redness around the nose, tap a small amount onto the sides and blend up toward the bridge. For blemishes, choose a creamy but not slippery formula that matches your base shade exactly. Dot once, wait a few seconds, then tap the edges only. If a spot peeks through, that’s okay—perfectly flat coverage can draw more attention than a softly blurred mark. If you deal with hyperpigmentation, a whisper of color corrector under concealer can help the tone appear more even with less product overall.
Remember: you can always add more. Start with half of what you think you need, check in daylight, and add a touch only where the camera or mirror still catches a distraction.
Brows and lashes in minutes
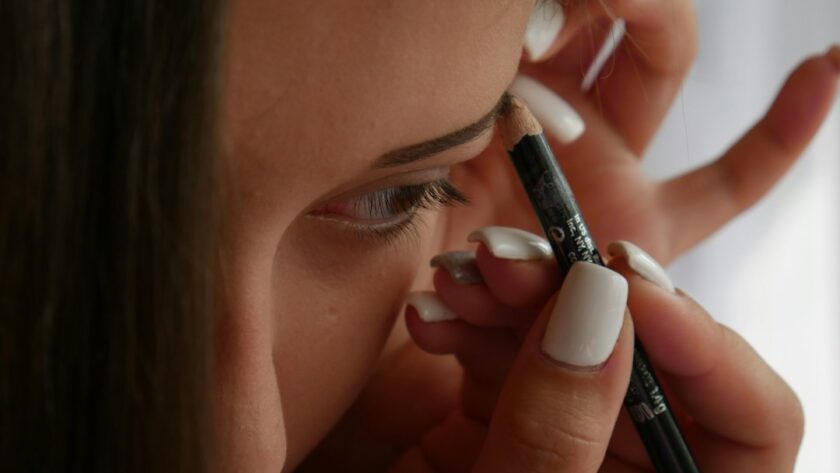
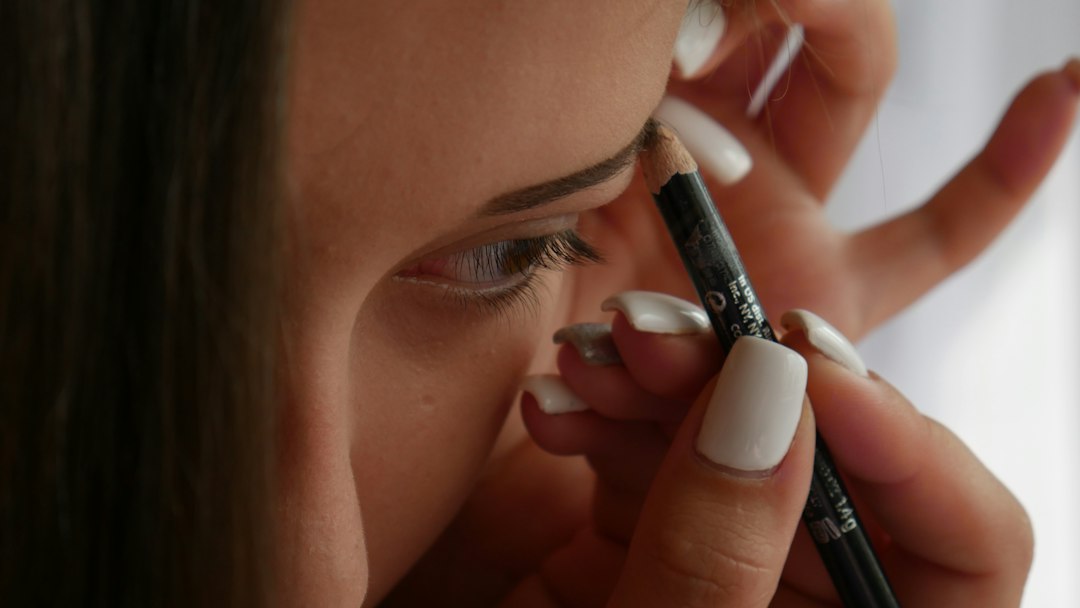
Brows are the quiet frame of the face. For a natural style, brush hairs up with a spoolie, then add light strokes only in the sparse areas. Focus on the tail if it fades, and the front if it’s patchy; leave the thick middle alone. Use a pencil with a fine tip or a thin-tipped pen, and hold it lightly so strokes look like hair. If your brow hairs are unruly, comb through a clear or tinted gel from tail to head and then head to tail to coat each strand, then gently press them into place with the spoolie. That extra pass helps the gel grab.
For lashes, curl in two gentle squeezes: once near the base and again slightly outward to encourage a soft C-shape. Wipe mascara wand on a tissue so you don’t overload. Wiggle at the roots and pull upward. One coat on top and a light touch at the outer lower lashes is often enough for daily wear. If you wear glasses, concentrate mascara at the base and outer corners to lessen smudges on lenses.
If you prefer an even simpler routine, try a clear mascara or brow gel on both brows and lashes. It adds a hint of definition without any color, which can be especially helpful for school or casual offices.
Soft color that brightens without announcing itself
Subtle color puts life back into a face after evening out tone. Cream blush melts into skin and looks undetectable up close. Smile gently and tap color on the highest point of the fleshy part of your cheek, then blend toward the ear. If you like a lifted look, place blush slightly higher. If you prefer a soft sun-kissed effect, tap some across the bridge of your nose and the tops of cheeks. Pick tones that echo your natural flush: rosy beige, peach, or mauve are reliable choices.
Bronzer adds warmth; use it with a light hand. The easiest placement is a wide “C” from temples to just under the cheekbones, plus a touch along the hairline. Cream bronzers are flexible; powders are tidy and quick. Highlighter should be subtle for daytime—think sheen, not sparkle. Tap a little on the tops of cheekbones and the center of the eyelids if you want a soft glow that reads like good sleep rather than shimmer.
If you reach for contour, keep it minimal and choose a shade that’s not too cool. A small amount under the cheekbone or at the sides of the nose is enough. Blend thoroughly so there are no hard borders. When in doubt, do blush first, then bronzer, then a tiny bit of highlight; this sequence keeps placement intuitive.
Eyes in one to three steps
You don’t need a complicated eye look to feel pulled together. A single cream shadow in a soft taupe or warm beige smudged across the lid can add definition and bring out your eye color. If your lids are oily, apply a thin layer of your face primer or a dedicated eye base first. For more structure, press a matte shadow that’s one shade deeper than your skin into the crease with a small, fluffy brush, then swipe a lighter satin tone on the lid.
Tightlining is a useful trick for natural looks. Wiggle a pencil into the upper lash line between the lashes; it makes the roots look fuller without visible liner. If you want a flick, choose a soft brown pencil and smudge upward at the outer corner, then set with a matching shadow. Avoid harsh, extended lines for daytime. If you have hooded lids, keep color concentrated near the lash line and blend slightly upward—this keeps everything visible when your eyes are open.
Glasses wearers can shift balance by placing a touch more depth on the outer corners; contact lens wearers might prefer a smudge-proof pencil. Either way, a single brush and one neutral shadow can accomplish more than you think when paired with good lashes.
Lip tints that feel like balm
The most “everyday” lip products feel comfortable and wear down softly. Look for sheer lipsticks, tinted balms, oils, or satin lip crayons in shades that resemble your lip color. To find a close match, look at the inner part of your bottom lip and choose something within one shade deeper. Apply a thin layer, press your lips together, and clean the edge with a fingertip. If you love a line, use a pencil close to your natural lip tone and only outline the border lightly; fill the center with balm.
To make color last through coffee, blot once with tissue and add a second thin layer. If lines around the mouth cause feathering, trace a nearly invisible amount of concealer around the lip edge and tap smooth; it creates a gentle boundary without looking heavy. Keep a balm or tint in your bag for midday top-ups, and don’t be afraid to switch tones based on your outfit: rosy brown on casual days, peach for warmth, or mauve when you want a touch more depth.
Adjustments by skin type and climate
Your routine should flex with your environment. If your skin skews dry, layer hydration: a humectant serum under moisturizer, dewy skin tint, cream blush and bronzer, and a hydrating mist at the end. Powder only the center of the face with a small brush. In cold months, warming your base between fingers helps it spread without clinging to dry patches. If you notice flaky spots, press in a little extra moisturizer before makeup rather than building more pigment on top.
For oily or combination skin, think thin layers. Lightweight gel moisturizer, a soft-focus primer on the T-zone, sheer foundation with a semi-matte finish, and cream-to-powder or soft powder blush keep shine in check. Press powder into the sides of the nose and chin with a velour puff and roll it outward. Blotting papers are handy for midday without adding texture. In humid climates, waterproof or tubing mascaras, thin layers of complexion products, and strategic powder on the T-zone can help makeup look fresher longer. In dry climates, favor cream formulas and mist lightly as a finishing step.
If you live somewhere with big temperature swings, store a small kit of alternates: a gel-cream and a richer cream, a dewy tint and a semi-matte base, cream and powder cheek products. Rotate based on the day’s weather report the same way you change outerwear.
Tools, hygiene, and quick fixes
You can do a full daily face with three tools: a small duo-fiber brush for base, a tiny concealer brush, and a soft blush brush. Fingers are great for creams, and a damp sponge is unbeatable for melting everything together at the end. Whatever tools you pick, wash or wipe them regularly. A gentle brush soap and lukewarm water works; lay brushes flat to dry so water doesn’t loosen the ferrule. Sponges should be rinsed until water runs clear and replaced regularly.
Keep cotton buds, tissues, and a clean spoolie in your kit for fixes. Over-applied blush? Tap a clean sponge over the area. Mascara smudge? Wait for it to dry and flick away with a dry cotton bud; trying to move it while wet just spreads pigment. Lipstick outside the line? Wrap a tissue around your index finger and gently sweep it away, then tap concealer on the edge. A small transparent brow gel can also tame flyaways near the hairline in a pinch.
Hygiene habits make a visible difference. Wash hands before starting, keep lids and wands clean, and avoid pumping mascara (it pushes air into the tube and can dry the formula). Mark the month you open a product with a tiny label; you’ll know when it’s time to swap it out.
Shade matching without second-guessing
Finding the right base shade is less about luck and more about method. Identify your undertone: do gold accessories and warm peach tones look at home on you (warm/olive), or do silver jewelry and rosy hues feel more natural (cool)? If you’re equally comfortable in both, you may be neutral. Test shades along the jaw and slightly onto the neck, then step into daylight. The best match will seem to disappear into your skin, neither ashy nor orange.
Take phone photos in the shade and in bright indoor light; small differences show up on camera that a bathroom mirror can miss. If your face is lighter than your neck or vice versa, choose a shade that harmonizes the two, then adjust with bronzer or a touch of concealer where needed. Keep in mind that sheer formulas are flexible; if the undertone is right, a modest mismatch in depth is usually easy to finesse.
For blush, bronzer, and lips, echo your natural coloring. If your lips are rosy-beige, start there; if they lean mauve, look for that note on the label. Holding the product beside your face in a mirror can be surprisingly helpful—trust your eye more than the shade name.
Two fast frameworks: five minutes or ten
On mornings when time is tight, having a plan keeps you calm. Try one of these repeatable mini-routines and keep the necessary products together on a small tray or in a pouch.
The five-minute plan
- Minute 1: brush brows up, add clear gel.
- Minute 2: press in skin tint where needed.
- Minute 3: dot concealer at inner corners and on redness.
- Minute 4: tap cream blush on cheeks and a touch across the nose.
- Minute 5: curl lashes and add a single mascara coat, swipe on tinted balm.
The ten-minute plan
- Minutes 1–2: quick cleanse if needed, moisturizer, SPF.
- Minutes 3–4: sheer base, targeted concealer.
- Minutes 5–6: brows lightly filled, gel to set.
- Minutes 7–8: single neutral shadow or tightline, curl lashes, mascara.
- Minutes 9–10: cream blush, soft highlight, hydrating lipstick.
Put a clock within view while you practice; it’s easier to move fast when you can see time passing. After a week of repetition, you’ll fly through the steps without thinking.
Set and refresh: making it last through the day
Longevity for a natural look comes from thin layers and strategic finishing. If you like powder, choose a finely milled translucent formula and a small brush. Press it where makeup tends to move first—sides of the nose, chin, and between the brows—then lightly sweep any extra over the rest of the T-zone. If powder makes you look flat, try a few sprays of a fine mist at arm’s length; it softens edges and brings back a skinlike finish. Some people prefer powder first, then mist; others flip the order. Test both to see which reads best on you.
Midday, address what you see rather than reapplying everything. If shine pops through, blot first with a tissue or blotting paper, then add a whisper of powder. If blush has faded, tap on a pea-size dot of cream blush and blend with fingers. If under eyes look tired, a drop of eye cream pressed over the area can revive the look of concealer without adding more pigment. For lips, reapply balm or a tint after meals and you’re set.
For after‑work plans, you can build on your base. Add a smudge of deeper shadow at the outer corners, a second coat of mascara, and a slightly richer lip. Because your daytime layers were thin, a little extra in the evening looks intentional rather than heavy.
Common pitfalls and simple fixes
Even seasoned makeup lovers face hiccups. If your base looks streaky, you may be moving too fast over a still-damp moisturizer. Give an extra minute for products to settle, or use a damp sponge to merge layers. If your base looks patchy late in the day, it might be too much product at the start. Next time, cut base in half and rely more on pinpoint concealer. If concealer creases, use less, keep application away from the very center of the under eye, and tap a tiny amount of powder with a small brush only where fine lines fold.
Blush looking uneven? Check your lighting. Overhead lights can cast shadows that trick you into over-applying. Face a window or stand under a bright, diffused bulb when placing color. Mascara smudging can come from too much moisturizer near the eye area; keep emollient products away from the lash line and consider a tubing mascara. Brow product too bold? Brush through with a clean spoolie and tap a touch of skin tint over the front of the brow to soften.
Above all, keep experiments small and keep notes. A quick line in your phone for what worked and what didn’t shortens the learning curve.
Build a minimal, reliable kit
A tiny, well-edited kit makes daily choices easy. Aim for items that multitask, feel comfortable, and are quick to apply. Here’s a starter checklist you can tailor to your needs:
- Skin prep: gentle cleanser, moisturizer you enjoy wearing, daily SPF.
- Base: a skin tint or sheer foundation that matches your undertone and depth.
- Concealer: one creamy, buildable shade matching your base; optional corrector.
- Color: a cream blush you love; optional soft bronzer and subtle highlighter.
- Eyes: neutral cream shadow or a small two‑shade powder duo; brown pencil.
- Brows: fine-tip pencil or pen and a clear or tinted gel.
- Lashes: defining mascara that doesn’t flake on you.
- Lips: tinted balm or sheer lipstick in your your‑lips‑but‑better shade.
- Finishing: translucent powder and/or a soft mist spray.
- Tools: small duo-fiber base brush, tiny concealer brush, soft blush brush, sponge, spoolie.
As you find favorites, you can add variety: a second blush tone, a different lip texture, or an eyeshadow quad for days you want a touch more structure. Keep everything in one place so the routine stays quick.
Practice, lighting, and a reality check
Every face has quirks. That’s the fun part. The same steps look different on different features, so take five minutes on a weekend to try your routine under three lights: bathroom mirror, near a window, and under warm lamplight. Each reveals something different. If you notice a recurring issue—say, base looks too dewy in bright sun—adjust one variable at a time. Swap a richer moisturizer for a lighter one, or press in a touch more powder at the end.
It’s also healthy to remember that “natural” doesn’t mean invisible. A soft layer of makeup can still be visible up close, and that’s fine. The goal is harmony: tone balanced, features defined, skin allowed to look like skin. When a small step gives you a big lift—curling lashes, tapping on blush, slicking brows—prioritize that step even if you skip others. Your routine should serve your day, not the other way around.
Putting it all together
By now you have a simple, flexible plan for an everyday face: quick prep, whisper-light base, targeted concealer, tidy brows, defined lashes, a hint of color, and a comfortable lip. With thin layers and the right placements, you’ll move from “just woke up” to “wide awake” in a few minutes and stay comfortable through your commute, meetings, and dinner. As your confidence grows, you’ll adapt these steps to your features and daily life, creating a routine that feels like you—just a touch more polished.
Save this guide, build your small kit, and try one of the five- or ten-minute frameworks this week. Most of all, celebrate the small wins: the day your skin tint melts in perfectly, the morning your brow gel takes ten seconds, the evening when a quick refresh carries you through. That’s the quiet power of a natural routine you can count on.