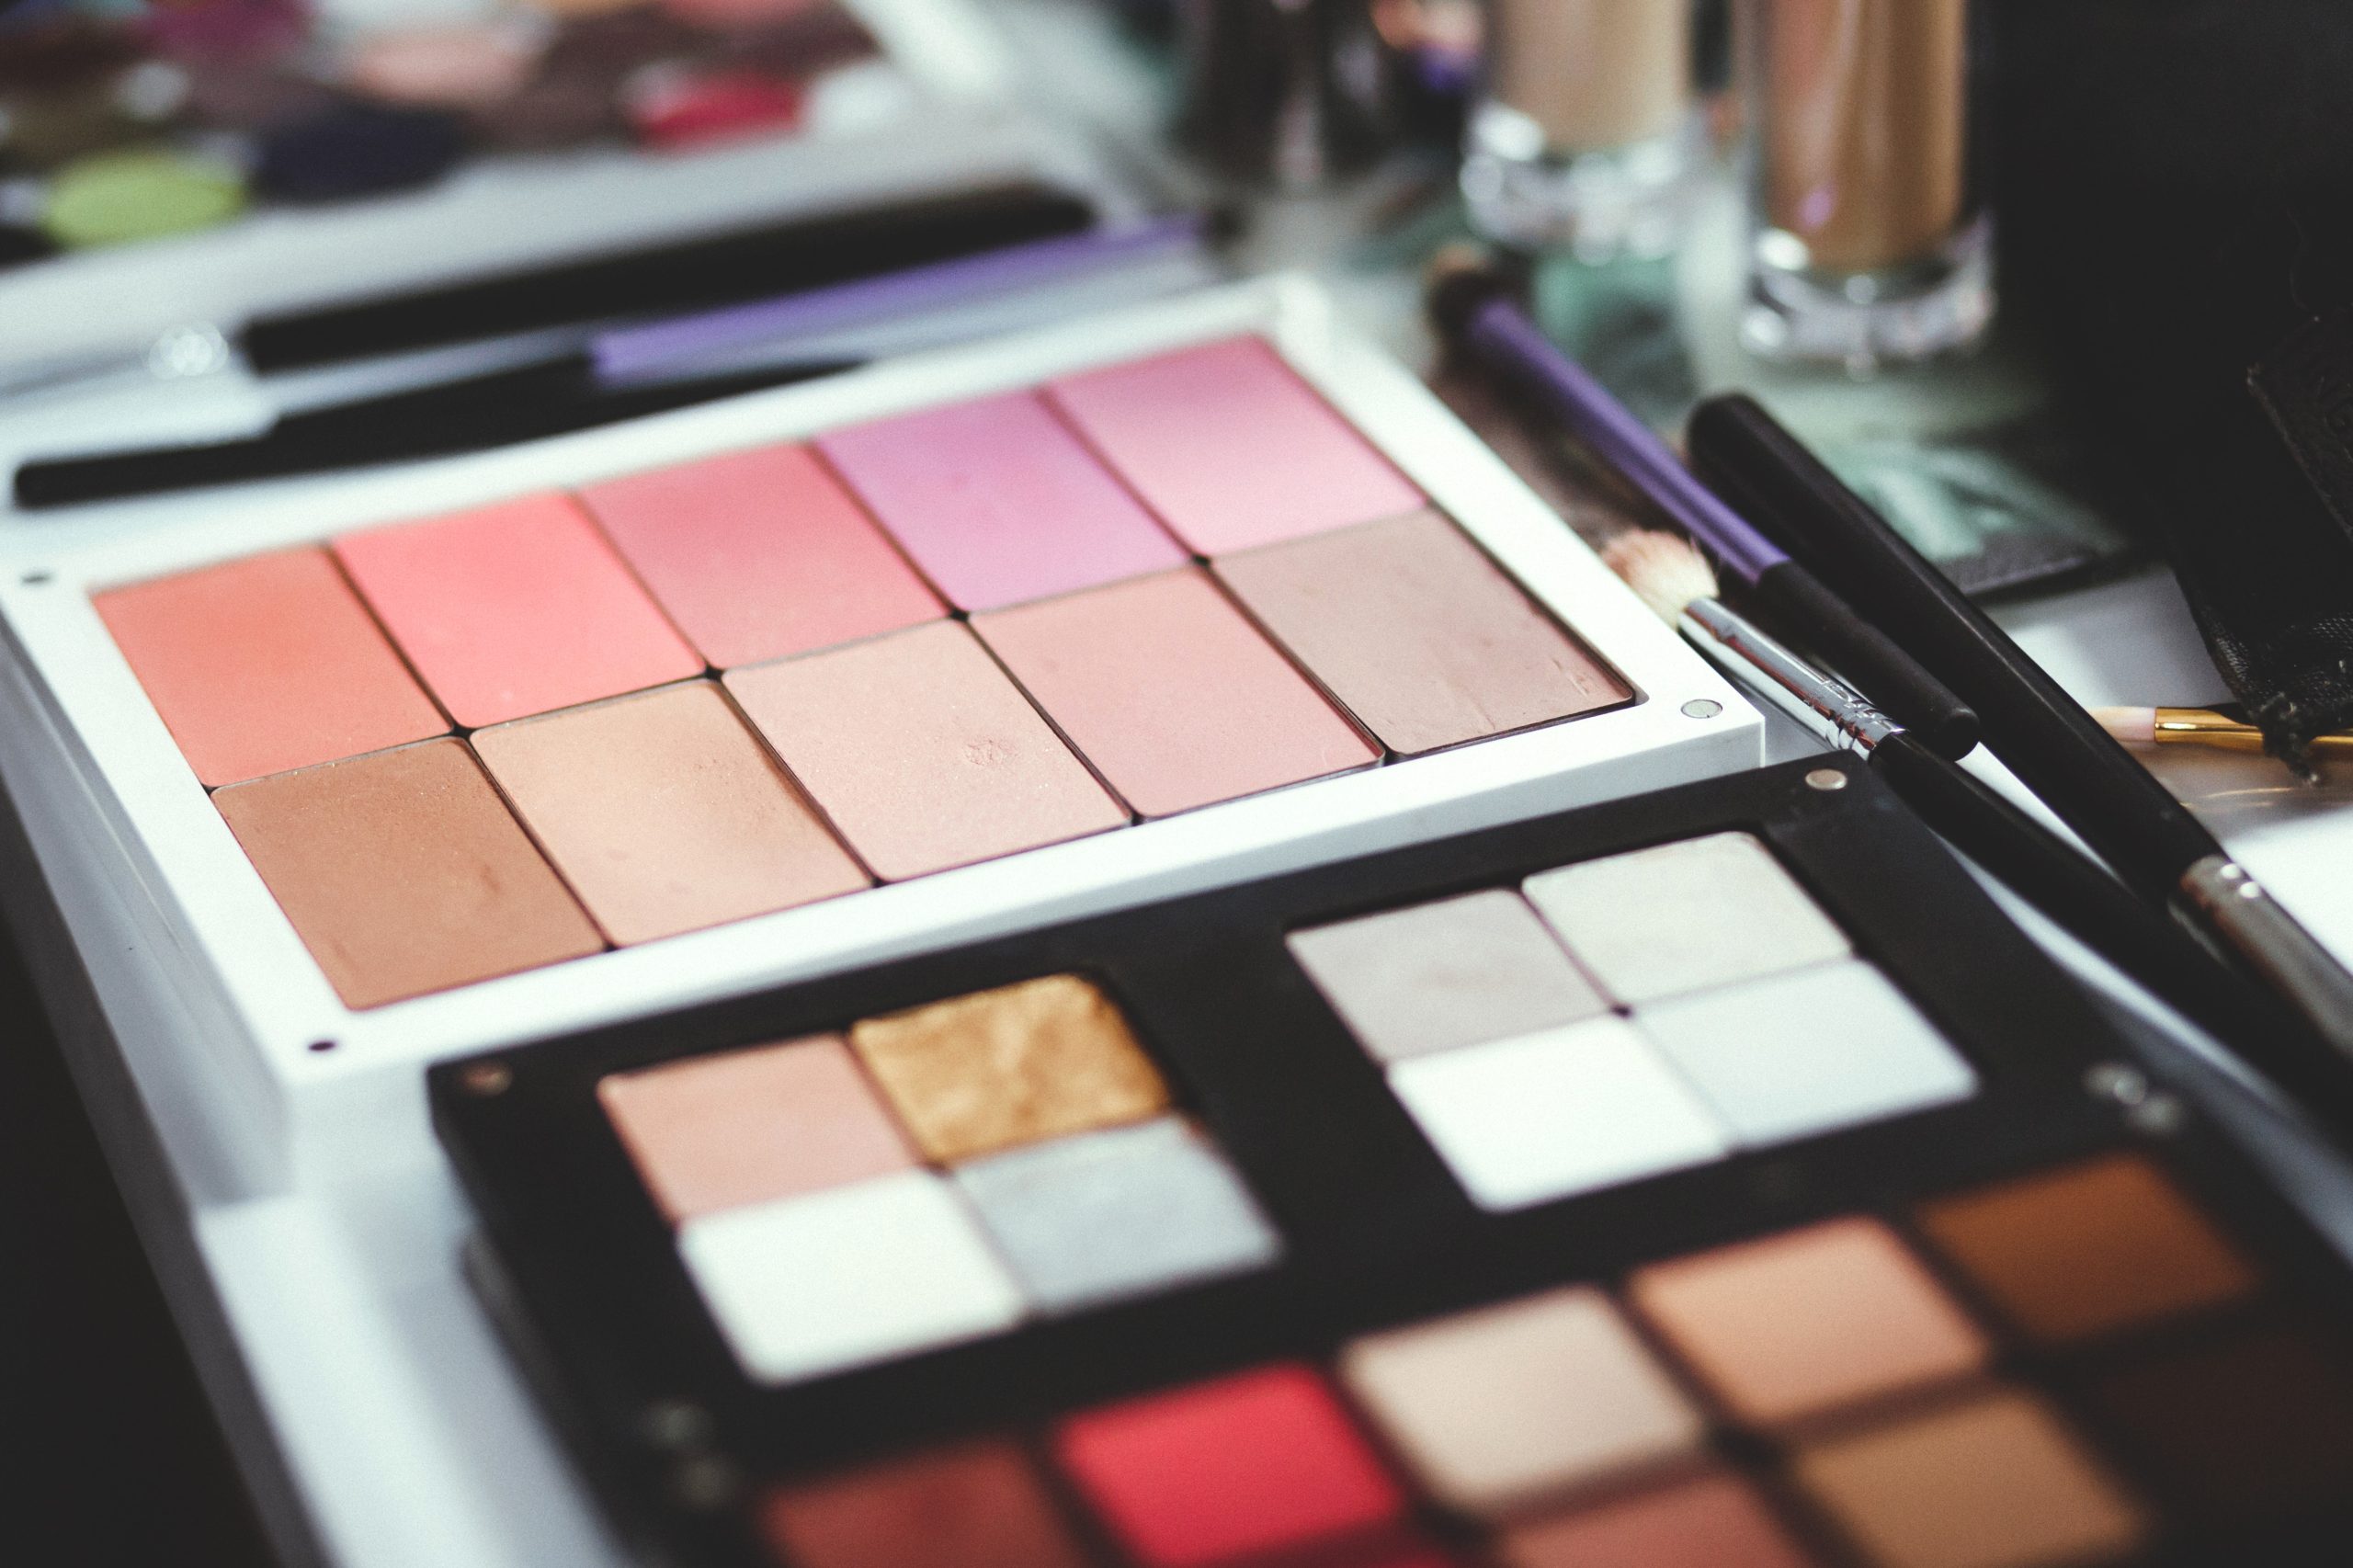
Here is how to make your own eyeshadow palette: pick a theme, choose about 60% mattes and 40% shimmers, include 1–2 deep shades, and arrange light to dark. Aim for a 60/40 matte-to-shimmer mix so your looks blend easily and still pop. Limit deep shades to 1–2 if you rarely do smoky eyes; add a deep brown or forest green as liner. If you skip colorful creases, pick neutral transitions that match your undertone (beige/peach for warm, taupe for cool, rose‑beige for neutral).
I highly recommend using our Color Stories tool to create and rearrange your own eyeshadow palette, plan rows, and test undertones, assuming you’re working from products I’ve photographed/swatched! Lay pans on your table or make a phone collage to compare undertones, then move shades around until each row can build a complete look without duplicates.
I built a ColourPop 24‑pan palette using the same plan, and the steps below mirror that process.
How to make your own eyeshadow palette: quick steps
- Pick a theme and target size (6, 9, 12, or 24 pans).
- Choose 4–6 mattes that step from light to deep and match your undertone.
- Add 3–5 shimmers/satins for lid pop and inner-corner lift.
- Include 1–2 deep shades (brown, plum, green, or black) for liner/outer V.
- Arrange light to dark, warm to cool; remove near-duplicates.
- Test trios/quads in rows to be sure each row can make a full look.
Want to shop and plan more intentionally? See Curate the Makeup Collection you Love with More Mindfulness for smart editing.
| Palette size | Best for | Mattes | Shimmers | Deep shades | Extras |
|---|---|---|---|---|---|
| 6‑pan | Everyday basics | 3–4 | 2–3 | 1 | Optional topper |
| 9‑pan | Work to weekend | 5–6 | 3–4 | 1–2 | One topper |
| 12‑pan | Versatile looks | 6–7 | 4–5 | 2 | Topper or duochrome |
| 24‑pan | Collectors/seasonal | 12–14 | 8–10 | 2–3 | Topper + special shades |
Budget kit checklist
- Empty magnetic palette (fits your target pan size, e.g., 26 mm).
- Labels or a fine marker to note shade names/undertones.
- Rubbing alcohol and cotton swabs for cleanup.
- Small spatula/tweezers if depotting from compacts.
- Paper towel and tape to map rows before placing.
- Phone photos of swatches under daylight and indoor lighting.
FAQ: eyeshadow palette basics
How many shades do I need? A 9–12 pan build covers daily to glam looks. Go 24 only if you love variety and will use it.
How do I make a eyeshadow palette on a budget? Buy singles during sales, mix brands that use 26 mm pans, and prioritize mattes you will use every day.
How to make a makeup palette beyond eyeshadow? Add a satin beige as a subtle highlight, use a cool matte brown for brows, and include a blush/bronzer pan if your palette fits them.
When I create a Color Story, I consider the following.
THEME
It is easier to create a colour story if I have a specific theme. You could choose a theme like “space”, and then select colors and finishes to remind you of that. You could base it on a specific color, such as greens, or a function, such as “work-friendly.”
NUMBER OF SHADES
You can build your own eyeshadow palette with anywhere from just a few to as many as a dozen shades, depending on how big the palette is when you start! If you are new to creating your own palettes, 12-15 shades should be enough to get started.
COHESIVE OR COMPLEMENTARY?
You can create a palette that is cohesive by starting with a small “core” of colors. These are the theme colors. Then, you will need to add your transition shades and brow-bone shades according to your skin tone. Complementary palettes can be used with other products, such as singles and standalone palettes.
Create your own individual looks
If you’re using the theme “work-friendly,” you may want to look for a brightening color for the entire lid, as well as a darker shade (for the crease/transition) and a highlighter for the brow bone. You can group colors into quads or trios based on how you would use them in an outfit. Then you can eliminate colors that overlap too much or you may prefer one shade over another.
STEP BY STEP: 12-SHADE GREENS PALETTE
Check out the steps! I began by creating “quads” based on past color stories that I created with Sydney Grace single eyeshadows. I’m a big fan of green so I chose a palette with mainly green shades. I wanted to have 12 shades in the palette so I started with seven “quads” that I thought I would enjoy wearing. This gave me 28 eyeshadows to choose from.
STEP 1 – KITCHEN SINK
I started by removing shades that did not work well with the majority of shades I was interested in. I decided not to include shades like Lemon Sorbet or Deep Desire because they were pulling more yellow and orange.
Then, I compared all the matte shades and looked for any that were too similar or overlapped to the point of being redundant. Haystack, Back Woods, and Bravo are similar, with Back Woods being slightly more olive-green and Haystack being a bit warmer. I thought the warmth of Haystack was more versatile for me as a crease shade.
The quality of Island Paradise was better. Hot Chocolate, Caramel, and Hot Chocolate were similar. I chose Hot Chocolate because of the added richness.
Then I went through all the shades of shimmer to eliminate any shades that overlapped. Levy was a darker, cooler shade of green, as were to Earth and timber. However, I loved the gold shimmer and finish on Levy and didn’t feel it was similar to the others. To Earth was darker and less metallic. I thought it contrasted better with Levy.
STEP 2: Initial Refinements
The “quads”, which I had created, were out of sync. So, I recreated the quads and saw how they came together. This made them appear more cohesive, so that I could get a better idea of the color story.
STEP 3: RESET
After resetting the remaining shades to “quads,” the taupe-like colors like Somber or Enjoy the Ride were more prominent. I decided I didn’t want to continue in this direction, so I removed those two shades. San Diego seemed to complement my cool/warm vibes better than peanut butter which was warmer. So I removed that shade. Take The Time, and Meadow seemed to be out of place as they were grassy, bright greens. I already had a lot more warm, muted browns and olives. I now had 16 shades.
STEP 4: FURTHER Refinements
In order to get to the 12 final shades, I thought about what I would use the palette for and what products I already own or other palettes that I could pair it with. Midnight is a nice shade, but I already have so many black eyeshadows, and I don’t use them enough to fill up an entire spot.
Midnight Gold, and Rustic were likely to serve as similar purchases for me. I chose Rustic because it had a more olive undertone. Evergreen is a beautiful color but I would use it to create a crease in shades such as To Earth, Herky bird, and Levy.
My palette was now more shimmery, so I looked at shades that were similar, but not identical: Herky Bird , Commission , and Cadet . Cadet is more of a lighter version than Herky Bird. Commission has a yellower tone (more versatile) so I said goodbye to Cadet!
STEP 5: REASSESS
After I had done this, I re-arranged the quads and re-revised them to get the look that I wanted. After I had done this, I realized that Hot Chocolate looked too red with the other colors in my palette. For the last 12 I wanted to keep a brownish color but I also wanted something warmer.